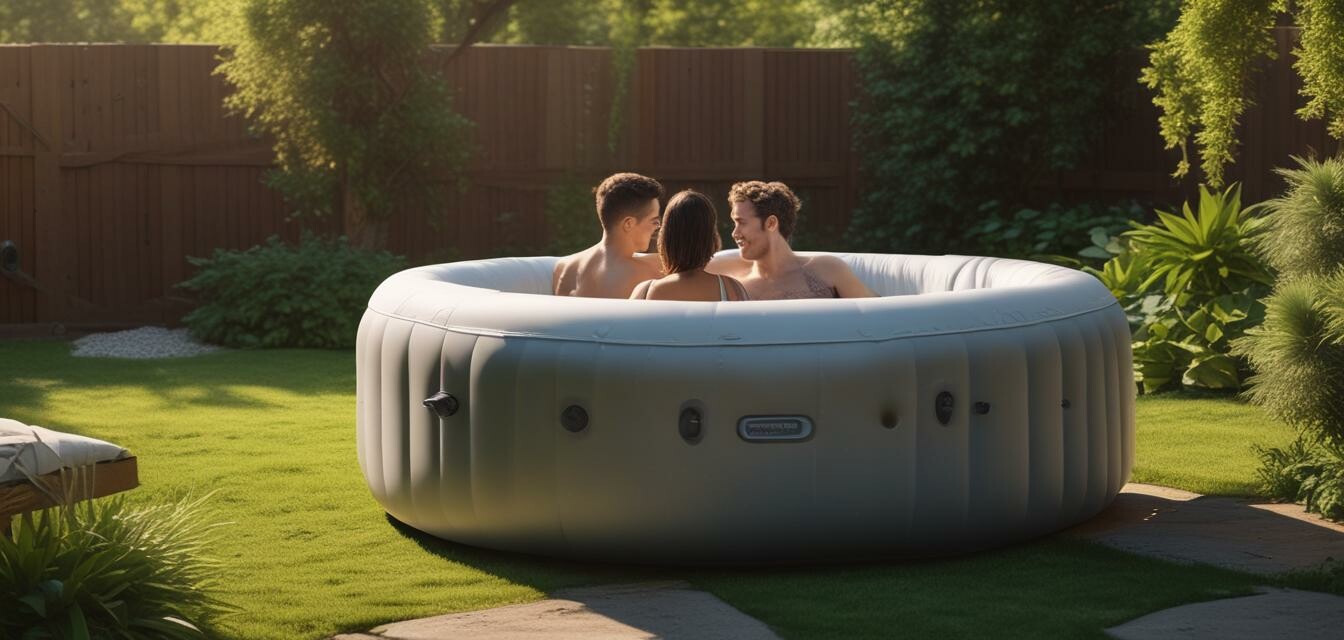
Setting Up Your Inflatable Hot Tub: Step-by-Step Guide
Key Takeaways
- Choose a suitable location for your inflatable hot tub.
- Make sure you have the necessary tools and supplies.
- Follow step-by-step instructions for a safe and easy setup.
- Regular maintenance is crucial for longevity and enjoyment.
Inflatable hot tubs can be a fantastic addition to your backyard, providing a relaxing retreat at an affordable price. Whether it’s a chilly evening or a warm sunny day, having a hot tub can transform your leisure time. In this guide, we will walk you through the process of setting up your inflatable hot tub in a way that is simple and straightforward.
Choosing the Right Location
Your inflatable hot tub needs to be placed on a flat and stable surface. Here are some considerations:
- Avoid placing it on rough surfaces that can puncture the tub.
- Ensure it’s near a power source; avoid using extension cords.
- Consider privacy and wind exposure.
- Ensure proper drainage to prevent water accumulation.
Tools and Supplies Needed
Before you start the setup process, gather the following tools and materials:
- Inflatable hot tub
- Ground mat or tarp
- Water hose
- Power source (outlet)
- Water treatment chemicals
- Adhesive repair patches (if included)
Step-by-Step Setup Guide
Now that you have chosen the location and gathered your supplies, follow these steps for an easy setup:
- Unpack and Inspect: Remove the hot tub from the box and inspect it for any damages.
- Lay down the Ground Mat: Position a ground mat or tarp in the chosen location to protect the bottom of the tub.
- Inflate the Hot Tub: Connect the pump and inflate the hot tub to the recommended pressure.
- Attach the Filter and Heater: Follow the manufacturer’s instructions to connect the filter and heater.
- Fill with Water: Use a water hose to fill the hot tub with water, ensuring it reaches the indicated fill line.
- Add Chemicals: Once filled, treat the water with chemicals as directed in the manual.
Maintaining Your Inflatable Hot Tub
Proper maintenance keeps your hot tub enjoyable for a long time. Here are some tips:
- Regularly check and maintain chemical levels.
- Clean the filter weekly and replace it as needed.
- Change the water every 1-3 months depending on usage.
- Store the hot tub properly during the offseason.
Helpful Resources
For further assistance, check out our other blog posts:
- Cleaning your inflatable hot tub
- How to choose an inflatable hot tub
- Top inflatable hot tub trends
- Family-sized inflatable hot tubs
- Eco-friendly hot tub options
Pros
- Quick and easy setup process.
- Affordable compared to traditional hot tubs.
- Portable and easy to store when not in use.
- Provides a relaxing experience at home.
Cons
- Less durable than hard-shell hot tubs.
- Requires regular maintenance.
- Limited heating capacity.
Conclusion
Setting up your inflatable hot tub doesn't have to be complicated. With the right location, tools, and step-by-step guidance, you can turn your backyard into a personal oasis in no time. Embrace relaxation and enjoy quality moments with family and friends.